 11 January, 2021
The high resolution computed topographical (CT) techniques that are used with great success in the injection and molding industry also have a great application field in AM, in the adjustment of the printing process, the checking of properties and quality in the piece, or for the control of powder quality.
Quality of metal powder in the additive manufacturing process determines quality of the final product and has a major influence on production consistency, and defect formation in the volume as well as on the surfaces of produced parts. For the inspection of powder size, shape, porosity and contamination, different methods, such a laser diffraction, optical microscopy, scanning electron microscopy, spectrometry, etc. are used. High resolution computed topographical (CT) scan can substitute several inspection methods.
By the CT inspection of metal powder (e.g. Aluminum AlSi10Mg, Titanium TA6V, Steel, Inconel), material is put into small container and irradiated by x-ray beam to create 2D image. While rotating the container by 360° many 2D images (so called projections) are recorded and stored. Using this set of projection and the system geometry data, the 3D volume of the powder in the container can be automatically reconstructed. Typical dimension of voxel (3D pixel in CT data) by powder inspection is a few micrometers. Such high resolution enables reliable examination of the metal powder with typical sizes in the range of from 10 up to a hundred µm.
After reconstruction virtual 3D representation of the powder can be immediately qualitatively examined. Shape and porosity of individual particles as well as potential contaminations, which can be identified based on their different densities compared to inspected powder, are clearly visible. Moreover, based on CT data statistical analysis of pores is possible, providing information about pore size distribution and a relative porosity. Contrary to microscopy methods, analysis based on CT data enables evaluation of hundreds to thousands virtual sections, providing reliable statistics. Furthermore, majority of parameters describing any individual particle (volume, surface area, sphericity, compactness, etc) can be determined from the CT scan and relevant statistics can be represented in tabular format or as a graph.
If the powder, which is being tested, is a mix of two powders of different densities, then during the analysis of CT data, each component can be separated and analysed independently. Additionally, relative amount of each powder in the mix can be determined.
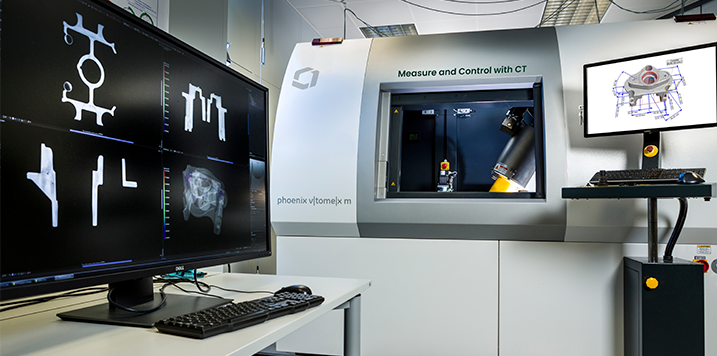
Focusing on powder analysis, the Phoenix Nanotom M system is a possible optimal solution. If quality control of final additive produced part is also of interests, using their premium solution – Phoenix V|tome|x M system enables 3D metrological dimensional control and fast high-quality inspection on the surface and in the volume of the produced parts.
Subscribe to our newsletter. Just insert your e-mail and you will receive the latest news.